

Pre-Pay Orders
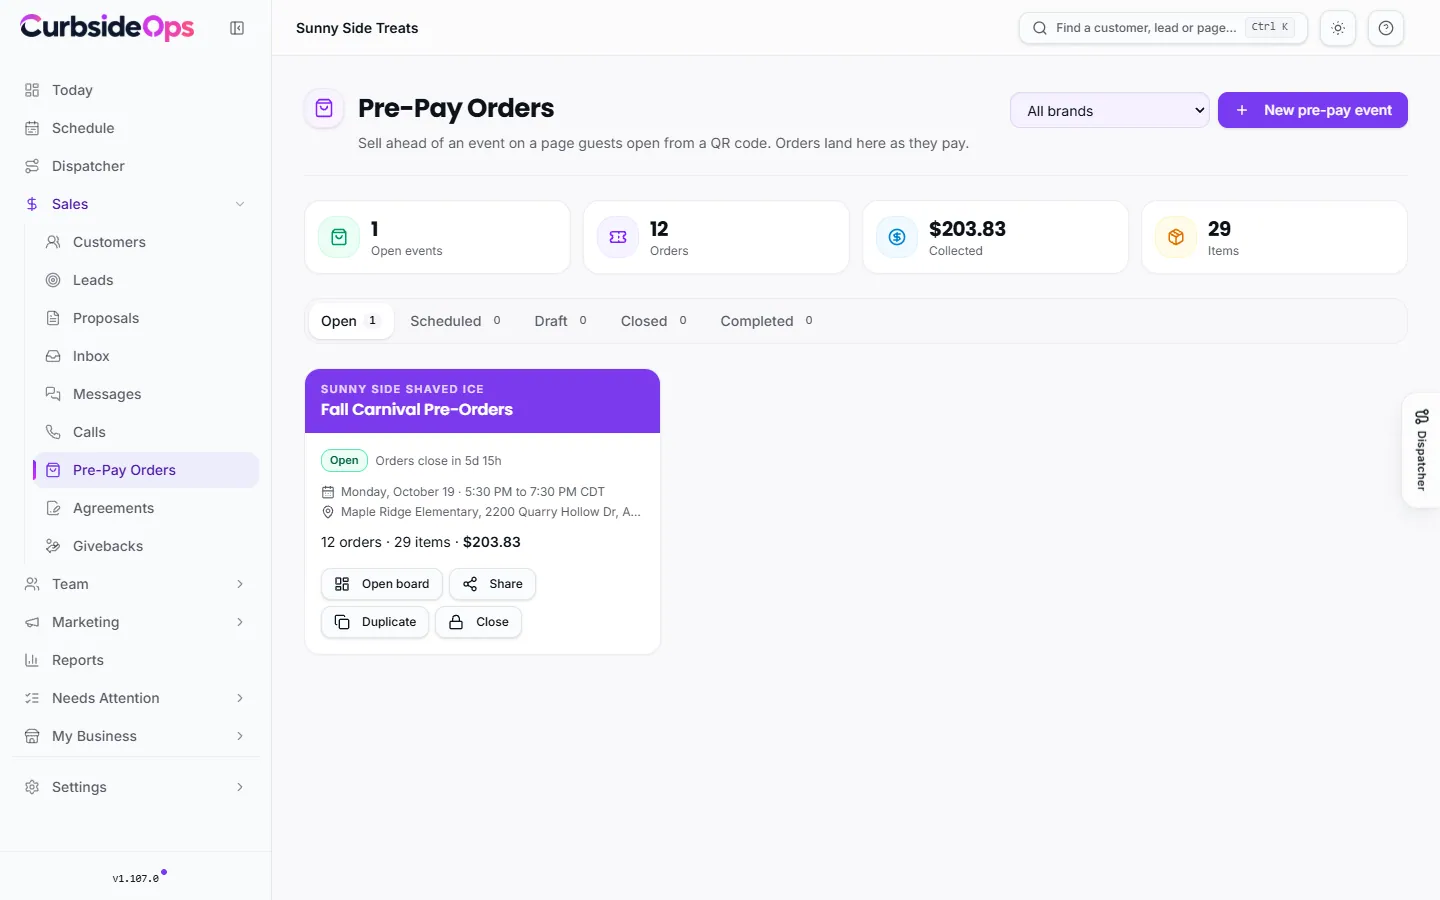
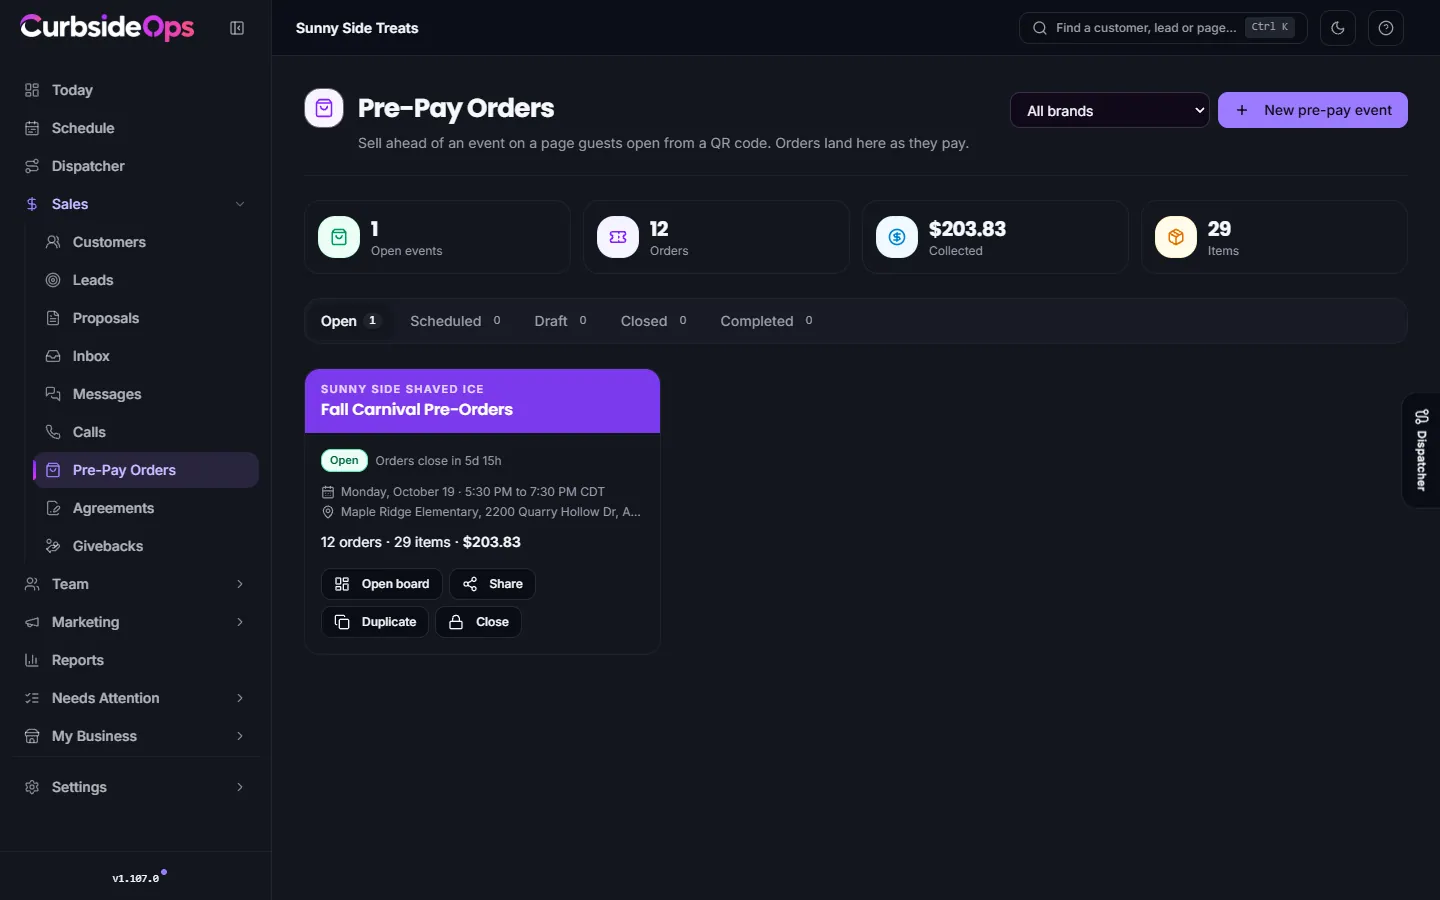
Let guests order and pay ahead for an event from a link or QR code, then hand out orders at the truck from one list.
Pre-Pay Orders gives an event its own order page. Guests open it from a link or a QR code, pick what they want and a pickup time, and pay by card before the truck arrives. You know what to make and you are paid before you serve.
- 1
Create a page
Pick the event, the items and the pickup times. The page uses the event address.
- 2
Share it
Send the link or the ready-made flyer and social posts to your host.
- 3
Guests pay ahead
Guests order and pay by card. Money goes to your own Square account.
- 4
Make and hand out
Orders show on the board and on your Square terminal. Mark them ready and picked up.
What you need
- Square connected for the brand, with a location selected, on the Integrations page. Guests pay through your own Square account. If you connected Square before card payments were added, reconnect it once.
- An event on your calendar with a full address, including the ZIP code. Every order page belongs to an event.
- Menu items on the brand's menu.
If Pre-Pay Orders is missing from your menu, it is not switched on for your account yet.
Creating an order page
Open Pre-Pay Orders and click New pre-pay event. The setup has five steps:
Event & window
Pick the brand and the Event. If the event has no full address, add it in the form shown. It is saved to the event, so you only enter it once. Set the Pickup spot, when pickup starts and ends, and when orders open and close. Shortcuts such as 2 hours before or A day before set the cutoff for you.
Menu items
Tick what guests can buy. For each item you can set a Price here, a Cap for the event and a Limit per order.
Who is it for
Start from a preset such as School day, Corporate coffee or lunch, Youth sports or Festival or community meal, or Start blank. Choose whether to ask which group each order is for (a teacher, team or department) and a name for each order, so labels and the kitchen sheet are sorted the way you hand out. You can also offer a tip at checkout. Tips go to you in full.
Slots & limits
Turn on Pickup slots to spread pickup over time windows, each with its own capacity. Set the most orders, the most items per order, and the Sales tax on items (zero for exempt events).
Review & share
Check everything, then click Open now or Save as draft. Once it is open you get the link and the QR code.
Pay it forward
Turn on Let guests buy an extra for someone else to let guests buy one more of an item for someone who needs one. You choose which items can be gifted. A gift is a real item at its own price, so it is taxed and counted like any other sale. If you ask for a group or a name, guests can say who the gift is for, and it reaches the crew's sheet with that name on it.
When the host already paid
For a bought-out service (an employer paying for two hours and 100 servings on their invoice, for example), turn on The customer already paid for this. Guests confirm their order without paying, there is no card form, and no service fee is charged. You can set Items per person, the Total items the customer bought, and limit orders to the customer's email domains. The board shows how many servings are Claimed instead of money collected.
Sharing with your host
The Promo kit tab makes ready-to-share files: a square Social post, a Story, a letter-size Flyer and a Table tent. Click Send to customer to email them to the customer on the event's booking so they can share them with their people. CurbsideOps never posts them for you. If the event changes after the kit was made, click Regenerate.
The token kit
For a school day, the school prints a token kit instead of receiving bags of coins: a PDF with a cover page per class (the pick list, a legend of the tokens inside, the instructions) and sheets of cut-out tokens, one per cup, each with the child's name, the class and the product. A child trades the token at the window, and nothing has to be delivered the day before.
Design it once on the brand. On the brand's Sales & Ops tab, the Token kit card lists the products in the kit: click Add products to the kit and tick the two or three things a school event sells. Every product gets its own colour and pattern automatically (the pattern keeps tokens apart on a black-and-white printer), the product name, and its menu photo; change the colour, pattern, label or picture per product if you like. Pay it forward tokens are white with a line for the teacher to write a name. Anything a guest orders that is not in the kit still gets a plain token.
A special day can have its own look. On the wizard's Menu items step (or the board's Settings tab), click Customise for this event under Token kit. That copies the brand's design to the event, and changes there never touch the brand or other events. Use the brand design goes back.
Send it from the board. The Token kit tab shows who it goes to (the customer on the event's booking), what the school has received, and one button to send what is new. The first send is the kit; later sends are numbered addendums with only the orders that came in since, plus a Pull these tokens list for orders cancelled since. Send the whole kit again is for a school that lost it. Print the current kit and Email me a PDF are there for printing at the warehouse instead.
Once a kit went to the school, its colours, patterns, paper and product list are fixed, so an addendum matches the tokens already handed out. Labels and pictures can still change.
Orders on the board
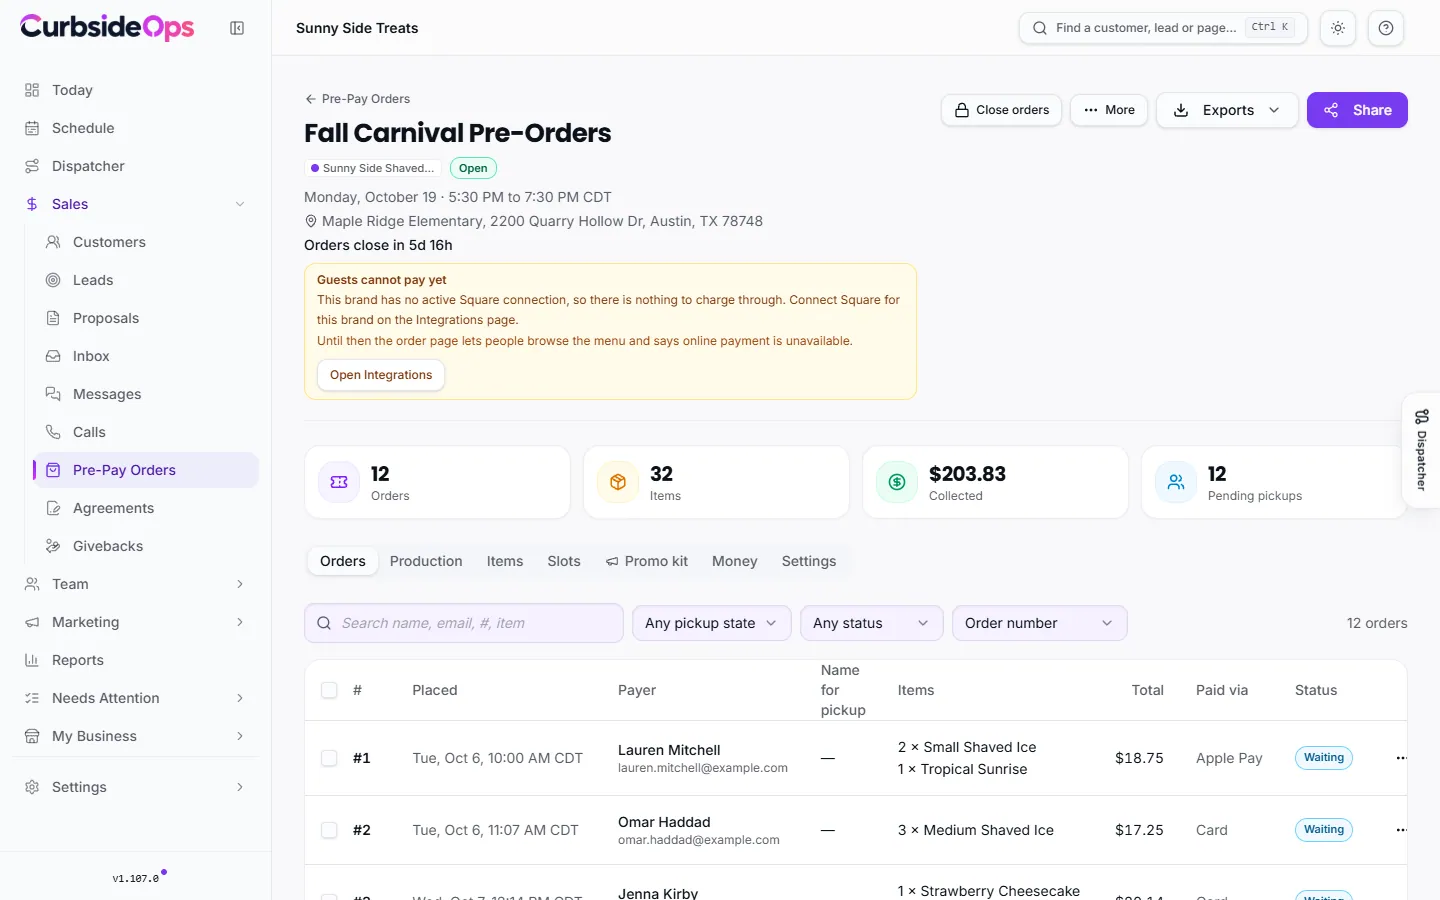
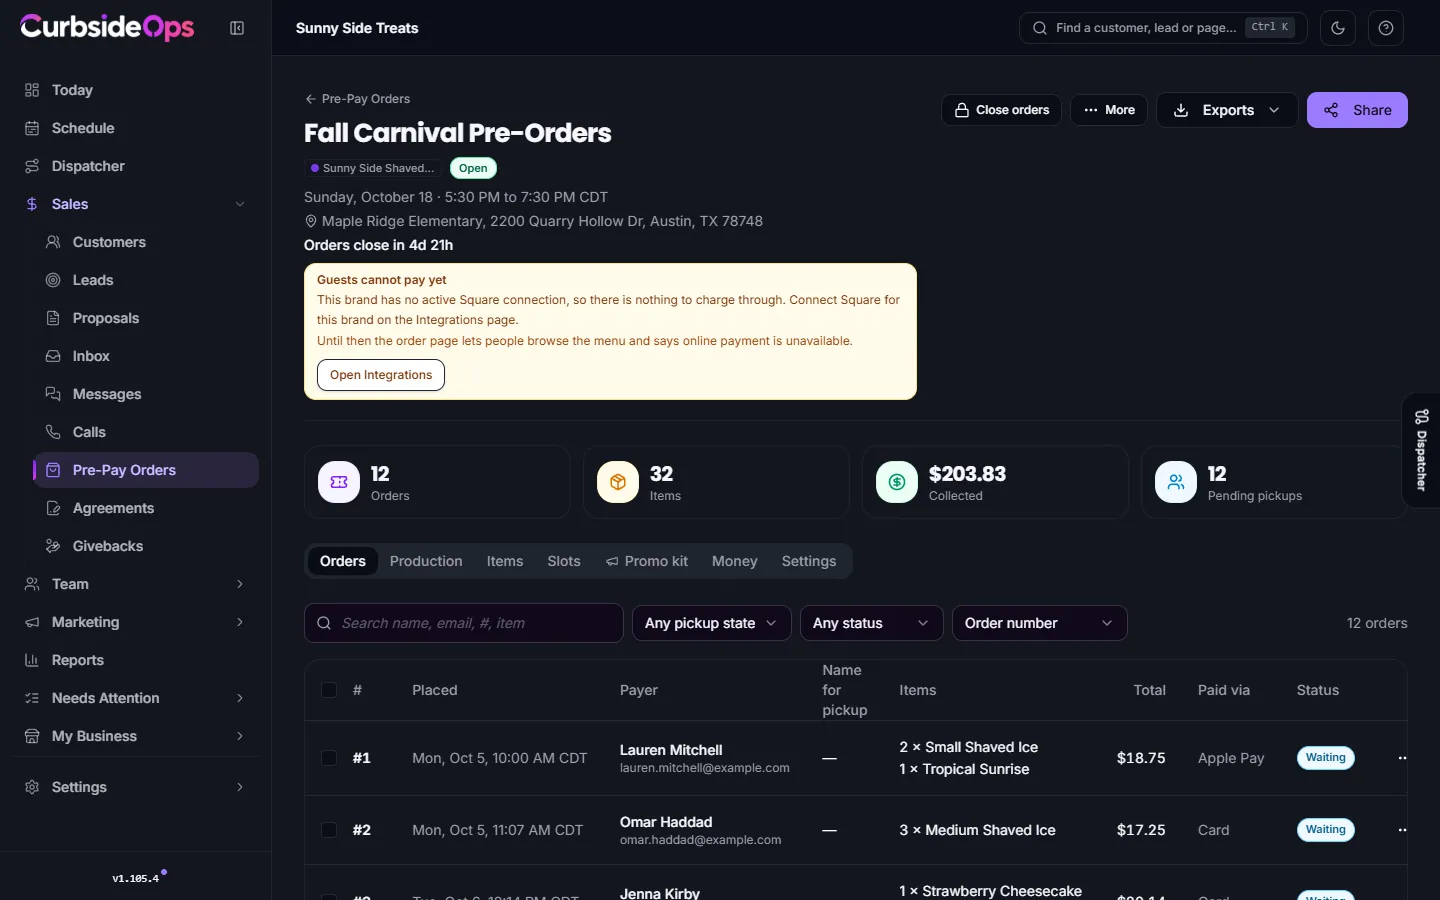
Open an event to see its board. Orders lists every order with its group, name, items and pickup slot. Production totals what to make, and the Exports menu prints labels, a pick list and a production summary.
Each order also appears on your Square terminal. Its source is the page's short code and the event title, so you can filter the terminal to one event.
At the truck, click Mark picked up as each order is handed over, or select several and mark them together. Square follows along. After pickup ends, any orders left can be marked All picked up or Mark as no-show. Neither refunds anyone.
Refunds
Open an order and choose Refund... or Cancel & refund.... You can refund everything, some items, or an amount, and you pick a reason. The money goes back to the guest's card. Your crew can only request a refund; it shows on the order as Refund requested for you to act on.
Refunds and the Money tab are for the owner and for managers you have given access to finances. Cancel event... refunds every paid order and emails the guests.
The service fee
Guests pay a small service fee per order to CurbsideOps, plus sales tax on it where the state taxes it. The setup shows the exact amount before you open the page. The fee is not taken from your payout and never appears in your own sales tax reports, because CurbsideOps collects and pays the tax on it. Host-paid events have no fee.
Archive, don't delete
Once anyone has paid, an event cannot be deleted. Archive takes it off the list and turns the page off, and keeps its orders and totals for your reports.
Pre-pay money flows into the event's Sales automatically and is left out of Pull from Square, so nothing is counted twice. See Event sales and invoices.
Still stuck? Email support@curbsideops.com or use Report an Issue in the portal. Checked against CurbsideOps 1.108.1.